


When it comes to file sharing, most people immediately think of internet-based services like OneDrive or WeTransfer. However, there are many instances where sharing files with someone nearby is more practical, and relying on the internet isn't always the fastest or most convenient option.
Local file sharing offers key advantages, such as not requiring an internet connection and often delivering faster speeds. Additionally, avoiding cloud uploads can help you manage storage space more efficiently. To help you make the most of local file sharing on Windows 11, here’s a rundown of some effective methods.
Bluetooth
While not the most efficient method, Bluetooth remains an option for file sharing on Windows. Though the process can be somewhat clunky due to Windows' Bluetooth implementation, it’s still worth knowing how to use it:
- Ensure Bluetooth is enabled on both devices.
- Select the file(s) you want to share in File Explorer, then choose Show more options (or hold Shift and right-click).
- Click Send to > Bluetooth device, select the target device, and click Next.
- If it’s the first time connecting, confirm the pairing code, and the file will transfer.
For sending to another Windows PC:
- Open Settings > Bluetooth & Devices and choose Devices.
- Select Send or receive files via Bluetooth and click Receive files on the receiving PC.
Network Sharing
For continuous access, network sharing lets you make files on your PC accessible to others on the same network. This method is great for long-term file sharing.
- Open File Explorer and go to the Network page. Enable network discovery and file sharing when prompted.
- Change your network to private if needed.
- Navigate to the file or folder you want to share, right-click, and choose Show more options > Give access to > Specific people.
-
- Add a user (or choose "Everyone" for broader access) to share the file.

Once configured, other devices on the same network can access shared files.

Thunderbolt Share
If both devices support Thunderbolt, you can take advantage of Thunderbolt Share for ultra-fast file transfers, thanks to bandwidths of up to 40 GB/s.
- Install the Thunderbolt Share app on both PCs.
- Connect the devices using a Thunderbolt cable.
- Open the app, select the Drag & Drop Files option, and start transferring files between the two devices.
Nearby Sharing
This built-in Windows feature allows file sharing via Bluetooth and a direct Wi-Fi connection without requiring internet access.
- In Settings > System > Nearby sharing, choose either My devices only or Everyone nearby.
- Right-click the file or folder you want to share and select Share.
- Pick the target device from the list and accept the transfer on the receiving PC.
Quick Share by Google
For seamless sharing between Windows and Android devices, Google’s Quick Share is a versatile option.
- Install the Quick Share app on your PC and sign in with your Google account.
- Select your visibility settings (e.g., only yourself, contacts, or everyone nearby).
- Right-click the file, choose Send with Quick Share, and select the target device.
Confirm the connection PIN on both devices for the first transfer, then wait for the file to send.
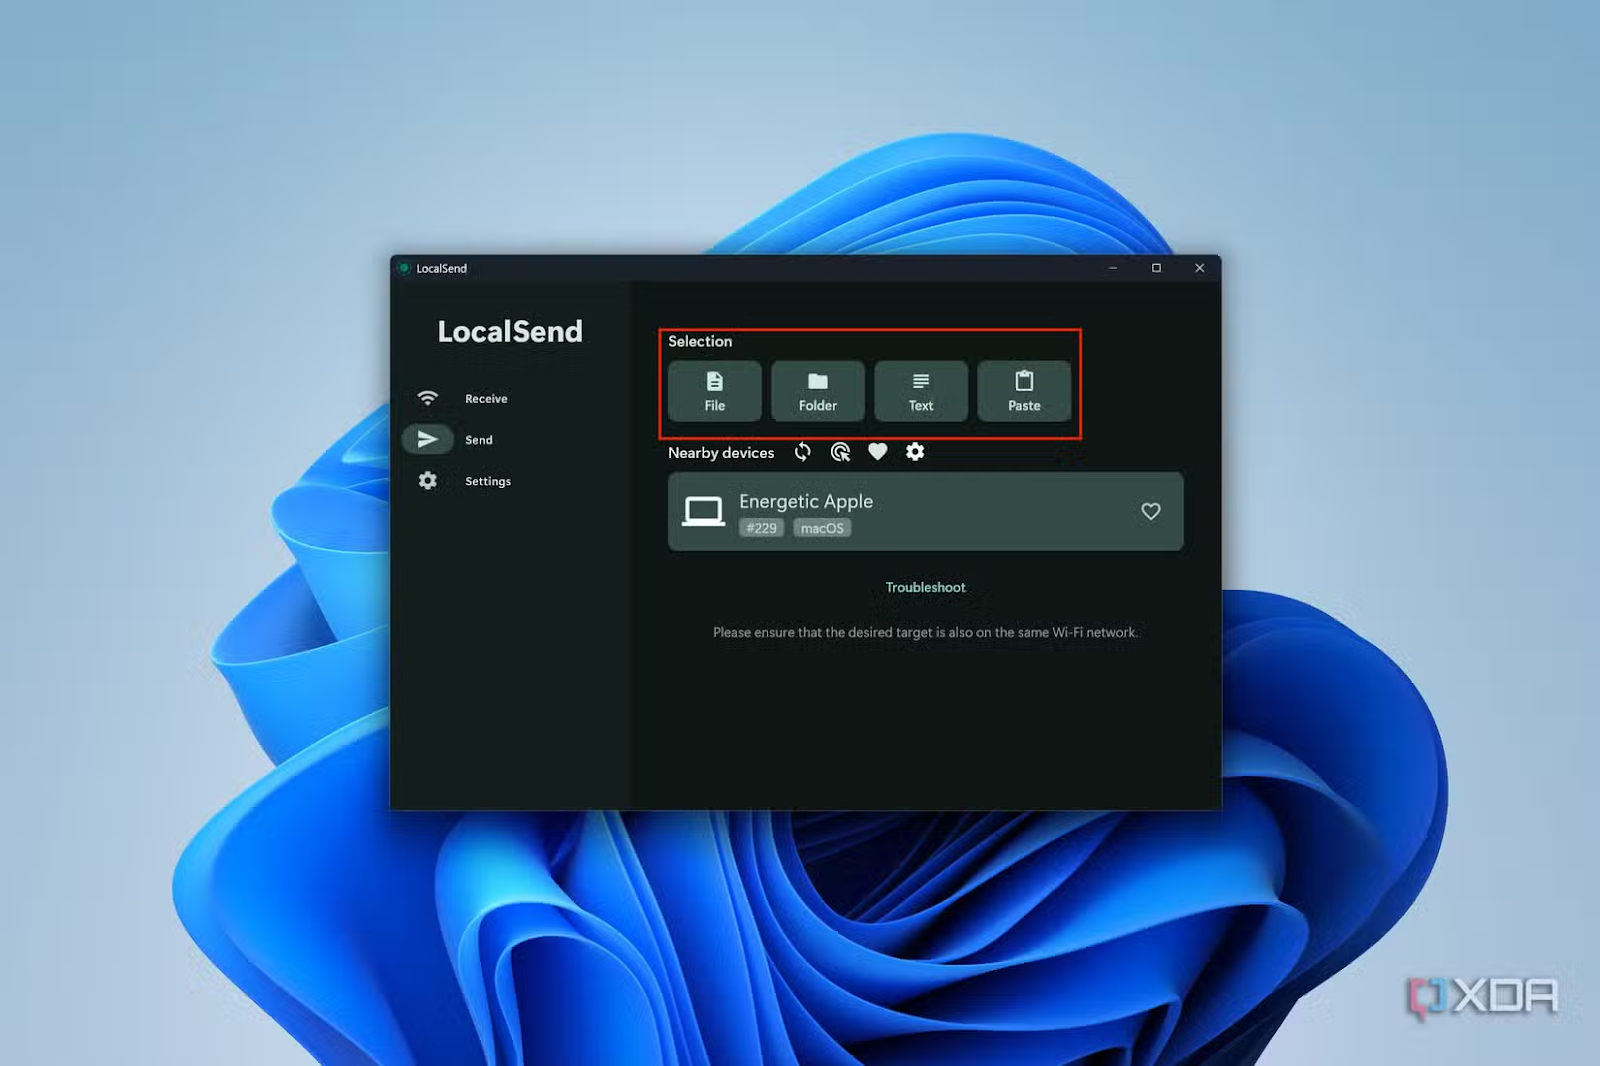
LocalSend
For maximum compatibility across platforms, LocalSend supports Windows, macOS, Linux, Android, and iOS.
- Install the LocalSend app on both devices.
- On the sending device, switch to the Send tab and choose your file or folder.
- Select the target device from the list and accept the request on the receiving device
Choosing the Best Option
Each method has its strengths depending on your needs. While Bluetooth is slow and outdated, other options like nearby sharing, Quick Share, and LocalSend offer practical solutions for different platforms. Personally, Quick Share is a go-to for sharing with Android devices, while LocalSend is ideal for managing files across various operating systems.


0 Comments